Kids Sewing: Tooth Fairy Pouch
My daughter is about to lose her first tooth. We've tried every night for the past week to pull it out but have yet to be successful. No matter, it will come in good time. It was clear however, that the time for a Tooth Fairy pouch had arrived. This little felt pouch is the perfect first sewing project for a kid. It has meaning for them so they'll have motivation to stick with it until it's done, and it is crazy simple; perfect for little hands.
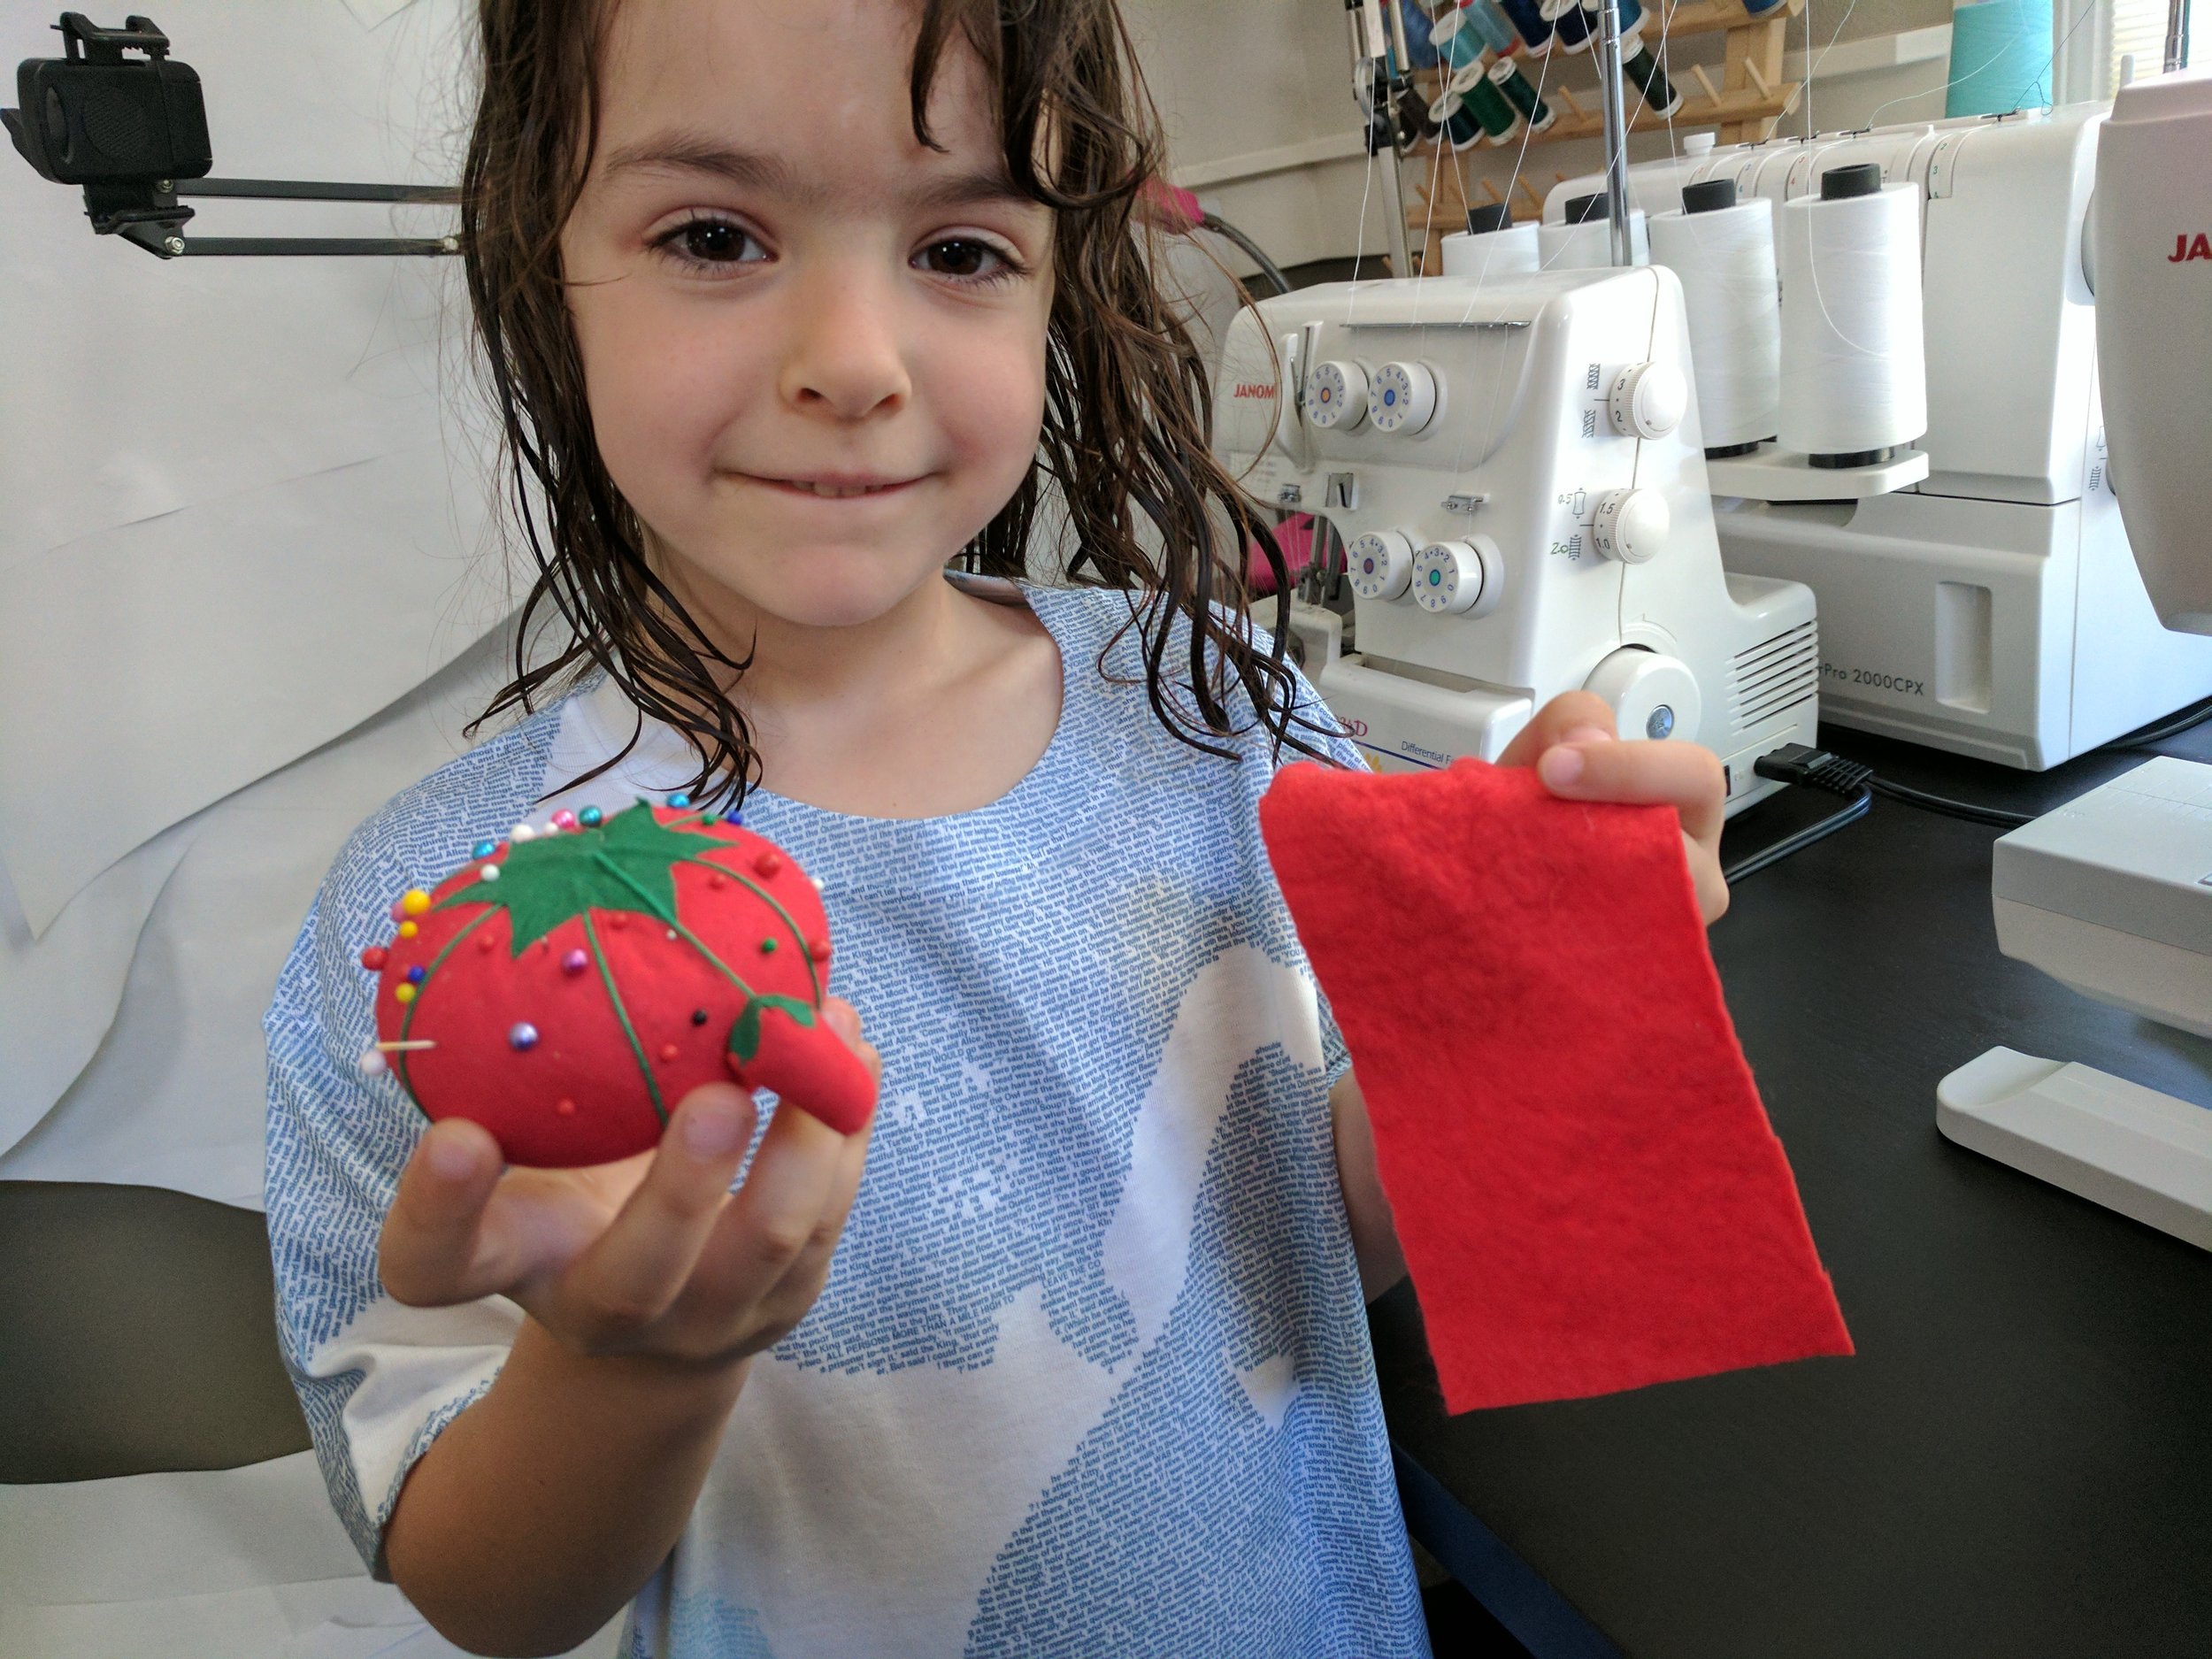
All you need is a small rectangle of felt (or fabric of any kind really, just whatever you have around the house), a hand sewing needle, and thread. We cut our felt 3" x 6", though the size is arbitrary. I wanted to make a little pouch with a self-folding flap so the tooth wouldn't fall out.

First, we folded the felt into the pouch shape we wanted. We folded it about 3/4 of the way up the length, leaving about 1.5" to fold over. Then we marked with a pen where we wanted our button to go. This button is from Gee Betty's practically famous button collection. I thought my grandmother would have like the idea of donating a button to this project, and Violet misses her, so this made it a little more special.

I got it started, but Violet sewed the button on herself. She didn't even poke herself with the needle. After the button was stitched on, I clipped a hole in the opposite end as a button hole. Because we are using felt, you don't need to do anything to the hole, but if you were using a woven fabric, then you would need to finish the button hole so it didn't just tear. To find the right spot for the buttonhole, we folded the pouch up again, and marked with a pen before cutting.

Before sewing up the side seams, we buttoned the button, lined everything up properly, and then pinned the bag portion of the pouch in place. Violet was desperate to use the actual sewing machine for this part and because I am a big softie, I consented even though I had been planning to have her stitch the sides by hand (which would be very simple with a running stitch, or a backstitch). So with help, we stitched up the sides of our pouch on the sewing machine using 1/4" seam allowance. Again, there is no need to finish the seams, or put them on the inside of the pouch here because we are using felt!

And it's all done! This whole process took less than half an hour and Violet was really proud of her work. She's shown the pouch to everyone she's come across all weekend, and is dying for her tooth to fall out.